

This content has been archived. It may no longer be relevant
 Grilling success often comes down to one detail: temperature.
Too hot, and food burns on the outside while staying raw inside.
Too cool, and it never develops that seared crust or smoky flavor.
A grill is hot enough when it reaches the right temperature zone for the food being cooked, whether that’s high heat for steaks or medium-low for slow-cooked vegetables.
Many rely on guesswork, but consistent results require more than intuition.
Simple techniques like the hand test, checking for a steady sizzle, or using a thermometer can confirm when the grill is ready.
These methods remove uncertainty and make it easier to cook food evenly every time.
Understanding why grill temperature matters sets the stage for better barbecues.
From learning reliable ways to test heat, to knowing the ideal ranges for different foods, each step helps ensure meals come out as intended.
With the right approach, grilling becomes less of a gamble and more of a repeatable process.
Why Grill Temperature Matters
Grill temperature directly affects how food cooks, tastes, and remains safe to eat.
It also determines how efficiently fuel is used and how consistent the cooking process will be.
Impact on Food Texture and Flavor
The right amount of heat ensures food develops the desired sear while staying tender inside.
High heat creates the Maillard reaction, which produces the browned crust on meats and vegetables.
Without enough heat, food can turn pale and lose flavor.
Different foods require different temperature ranges. For example:
- Steaks: 450–500°F for proper searing
- Chicken: 350–400°F for even cooking
- Vegetables: 300–400°F to avoid burning while softening
Cooking at the wrong temperature often leads to tough meat, rubbery poultry, or charred vegetables.
Proper heat control allows ingredients to retain moisture while achieving balanced texture and flavor.
Safety Considerations
Undercooked food poses health risks, especially with poultry, pork, and ground meats.
Harmful bacteria such as Salmonella and E. coli are only destroyed at specific internal temperatures.
If the grill is not hot enough, food may appear cooked on the outside but remain unsafe inside.
Recommended safe internal temperatures include:
| Food Type | Minimum Internal Temp |
|---|---|
| Poultry (whole or ground) | 165°F |
| Ground Beef, Pork, Lamb | 160°F |
| Steaks, Roasts, Chops | 145°F + 3 min rest |
| Fish | 145°F |
A properly heated grill helps food reach these safe internal levels faster and more reliably.
Maintaining consistent heat reduces the chance of uneven cooking that could leave dangerous cold spots.
Cooking Efficiency
A grill that reaches and holds the correct temperature uses fuel more effectively.
Gas grills waste propane if preheated too long at low heat, while charcoal burns out quickly if not managed at the right level.
Efficient heat also shortens cooking time.
For instance, burgers cook in 4–6 minutes per side at 450°F, but may take twice as long at lower temperatures.
This not only delays meals but can also dry out food.
Stable temperature control allows multiple items to cook evenly at once.
It prevents constant lid lifting, which causes heat loss and extends cooking time.
Properly managed heat ensures both speed and consistency in grilling.
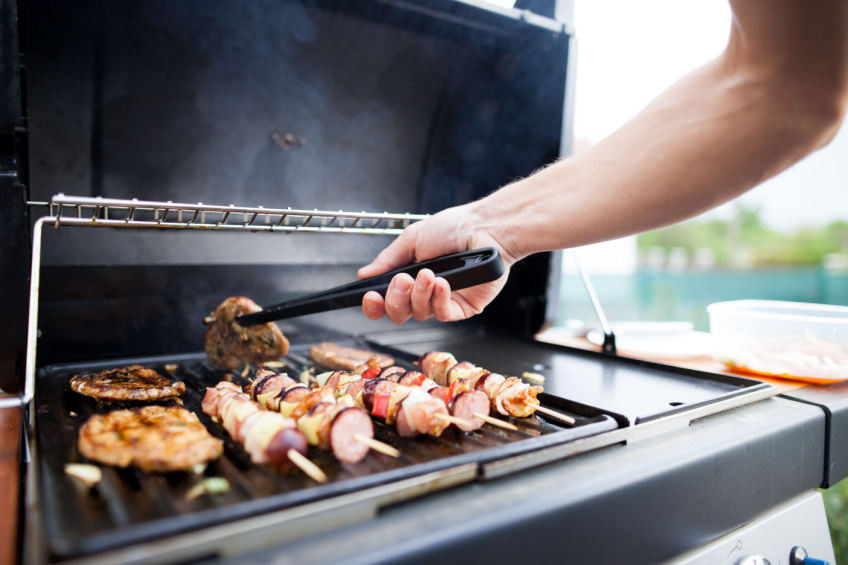
Essential Methods to Test Grill Heat
Grill heat can be measured in practical ways that do not require guessing.
Simple hand placement, reliable tools, and visible cooking reactions all provide useful information about temperature levels.
Hand Test Technique
The hand test gives a quick estimate of grill heat without equipment.
To use it, a person holds their hand about 5 inches above the cooking grate and counts the seconds until the heat becomes too uncomfortable.
- 2–3 seconds = High heat (450–550°F)
- 4–5 seconds = Medium heat (350–450°F)
- 6–7 seconds = Low heat (250–350°F)
This method works best for gas and charcoal grills alike.
It should not replace a thermometer but helps when checking zones or gauging heat distribution.
The main advantage is speed.
However, it is subjective since tolerance to heat varies.
For consistency, the same person should perform the test each time.
Thermometer Accuracy
A thermometer provides the most precise reading of grill temperature.
Built-in lid thermometers measure air near the top of the grill, which can differ from the grate temperature where food cooks.
For better accuracy, a probe thermometer placed directly on or near the grate is recommended.
 Digital thermometers with fast response times allow users to monitor heat changes more effectively than analog dials.
Some models also include dual probes, letting the cook track both ambient grill heat and internal food temperature.
This reduces guesswork and ensures safer cooking results.
Regular calibration is important.
A thermometer should be tested in boiling water (212°F at sea level) or ice water (32°F) to confirm accuracy.
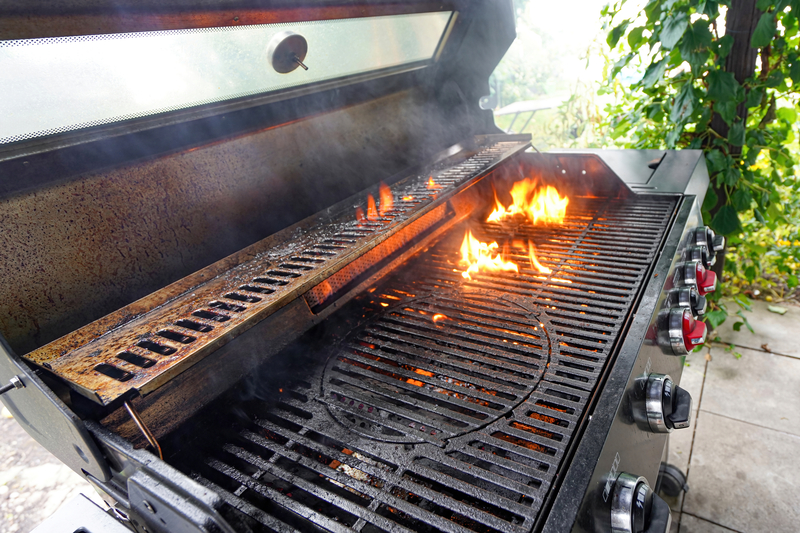
Visual Heat Indicators
Food reactions and grill surfaces also reveal useful clues about temperature.
A properly preheated grill will cause meat to sizzle immediately when placed on the grate.
If no sound is heard, the grill is likely too cool.
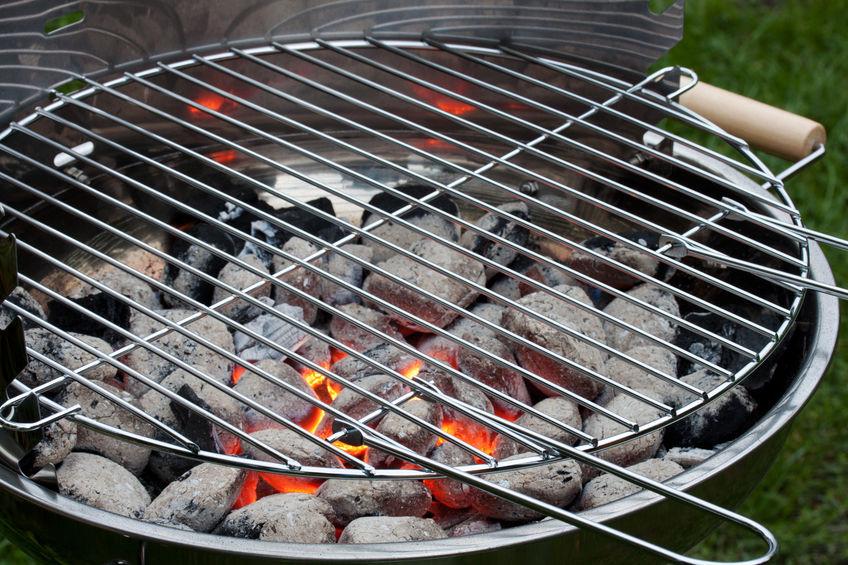
Charcoal grills show heat intensity by the color of the coals.
White or gray ash with glowing red underneath indicates high heat, while darker coals with little glow suggest lower temperatures.
Another indicator is the speed of searing.
If grill marks form within a minute, the surface is hot enough for direct cooking.
Slower browning signals moderate or low heat.
These cues are less exact than a thermometer but remain practical for quick checks during cooking.
Ideal Temperature Ranges for Different Foods
Grilling success depends on matching the right heat level to the type of food.
Using the proper range helps achieve safe cooking, balanced texture, and better flavor without overcooking or drying out ingredients.
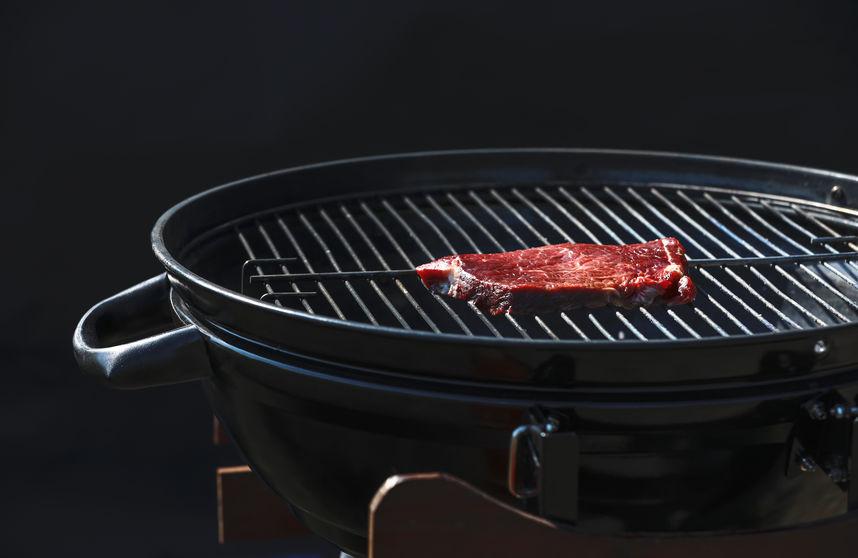
Steaks and Burgers
Steaks and burgers benefit from high, direct heat that creates a seared crust while keeping the inside juicy.
For steaks, the grill should reach 450–500°F for medium-rare to medium doneness.
Thicker cuts may require searing first over high heat, then finishing on medium heat around 350–400°F.
Burgers cook best in the 375–400°F range.
This temperature ensures the outside browns well without burning before the inside reaches a safe internal temperature of 160°F.
A simple way to check readiness is the “hand test”: holding a hand about 5 inches over the grate should feel hot within 2–3 seconds for high heat.
This method helps confirm the grill is ready for searing.
Poultry and Fish
Chicken and turkey require moderate, steady heat to cook through without burning the skin.
A grill temperature of 350–375°F works well for bone-in pieces, while whole birds may need indirect heat closer to 325°F.
Internal temperature should reach 165°F for food safety.
Fish is more delicate and benefits from slightly lower heat.
Grilling at 350–400°F allows fillets to cook evenly without sticking or breaking apart.
Oily fish like salmon tolerate the higher end of the range, while leaner types such as tilapia do better at the lower end.
Using a clean, well-oiled grate prevents sticking and helps maintain the fish’s shape during cooking.
A thin spatula is useful for turning fillets gently.
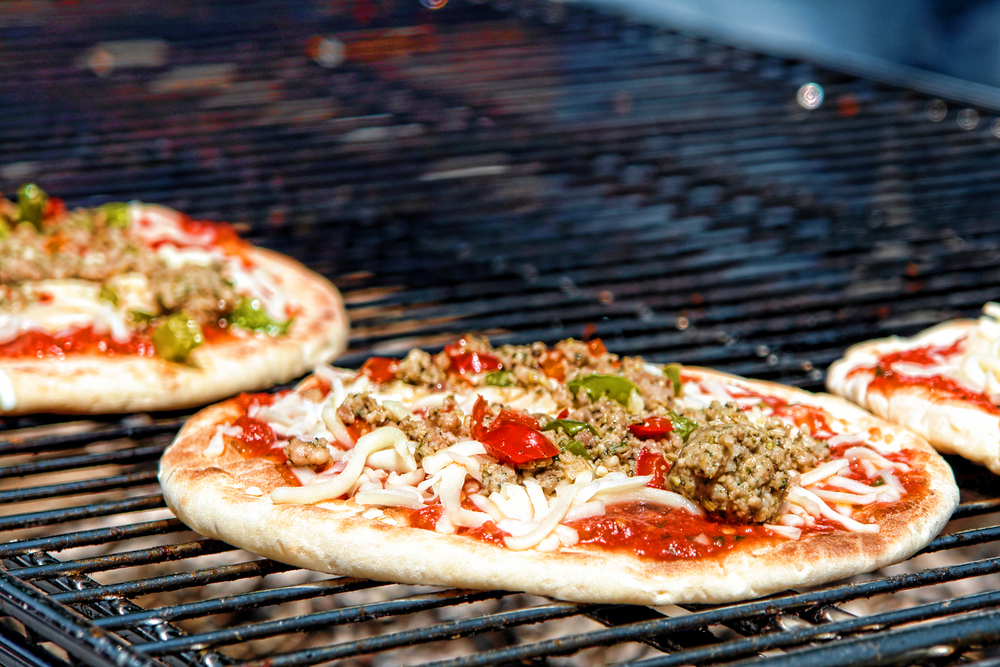
Vegetables
Vegetables cook quickly and require careful control of heat to avoid charring.
Most vegetables grill best between 350–400°F.
Dense items like potatoes or corn may need slightly longer cooking at the lower end of the range, often with indirect heat.
Softer vegetables such as zucchini, bell peppers, and asparagus can handle medium-high heat around 400°F for a few minutes per side.
Cutting vegetables into uniform sizes ensures even cooking.
Brushing vegetables lightly with oil prevents sticking and improves browning.
A grill basket can also help keep smaller pieces from falling through the grates.
Tips for Preheating Your Grill
Proper preheating ensures food cooks evenly, prevents sticking, and helps achieve consistent searing.
The process varies depending on the type of grill and the fuel source being used.
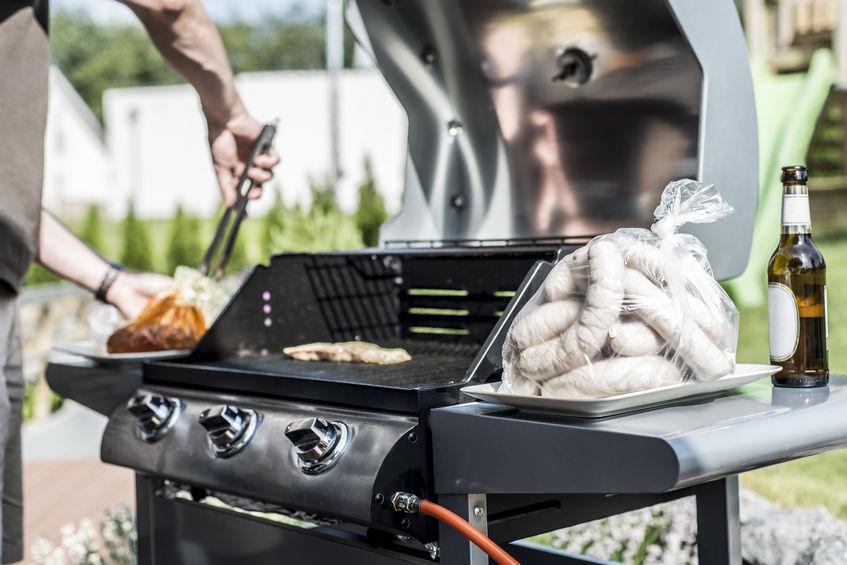
Gas Grill Preheating Steps
A gas grill heats quickly, but it still requires time to reach the right temperature.
After opening the lid, the user should turn the burners to high and ignite them following the manufacturer’s instructions.
Keeping the lid closed allows the heat to build evenly across the grates.
Most gas grills need 10–15 minutes to reach cooking temperature.
For searing steaks or burgers, aim for 450–500°F.
For slower cooking, such as chicken or vegetables, 350–400°F is usually sufficient.
A built-in thermometer on the lid gives a general reading, but placing a grill surface thermometer directly on the grates provides more accuracy.
This helps avoid underheating, which can cause sticking, or overheating, which can burn food.
Before adding food, brushing the hot grates with a grill brush removes residue and creates a clean surface.
Lightly oiling the grates after brushing can also reduce sticking.
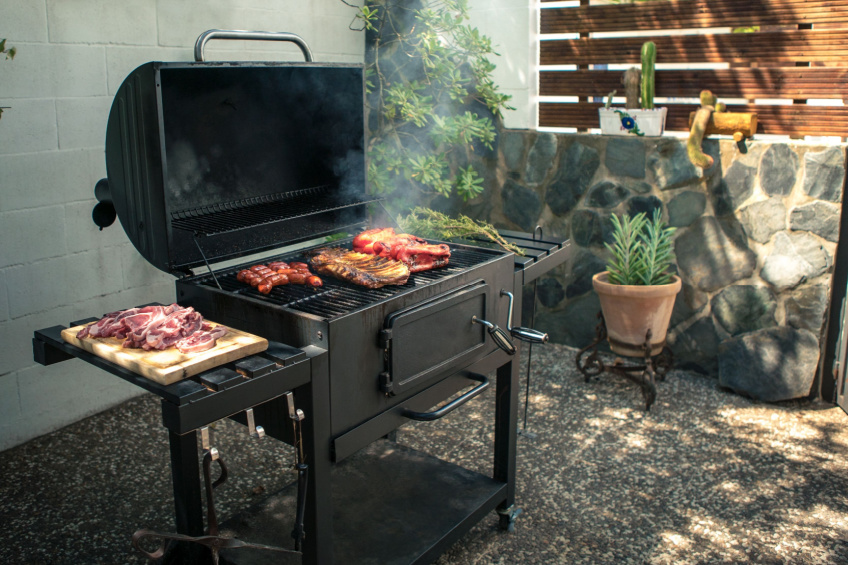
Charcoal Grill Preheating Steps
Charcoal grills take longer to preheat because the coals must burn until they reach the right stage.
After lighting, the coals should be allowed to ash over, turning gray and glowing red.
This typically takes 20–30 minutes depending on weather and charcoal type.
The coals should then be spread evenly for direct cooking or banked to one side for two-zone cooking.
Placing the lid on the grill helps trap heat and stabilize the temperature.
To check heat level, many cooks use the hand test: holding a hand a few inches above the grate and counting seconds before pulling away.
Two to three seconds indicates high heat, while five to six seconds signals medium.
Using a vent system properly also matters.
Opening vents increases airflow and raises temperature, while closing them reduces oxygen and lowers heat.
This control allows better consistency during cooking.
Common Mistakes When Assessing Grill Heat

Many people misjudge grill temperature by relying on inaccurate methods or overlooking uneven heat distribution.
These errors can lead to undercooked food, burnt surfaces, or inconsistent results across the cooking surface.
Relying on Guesswork
A common mistake is assuming the grill is ready without using any reliable measurement.
Some rely only on how long the grill has been preheating, but time alone does not guarantee the correct temperature.
Weather, fuel type, and grill condition all affect how quickly heat builds.
Built-in lid thermometers can also mislead.
They usually measure air temperature high above the grate, not the surface where food cooks.
This can cause a difference of 50–100°F between what the thermometer shows and the actual cooking area.
Simple checks help avoid this problem.
For example:
- Grate-level thermometer: Provides the most accurate reading.
- Hand test (holding a hand a few inches above the grate for a few seconds): Gives a rough estimate but should not replace a thermometer.
- Food reaction test: Meat should sizzle immediately when placed on a hot grill.
Using these methods helps ensure the grill reaches and maintains the right temperature for proper cooking.
Ignoring Hot and Cold Spots
Even when the grill reaches the desired temperature, heat rarely spreads evenly.
Gas grills often have cooler areas near the edges, while charcoal grills may burn hotter directly above the coals.
Ignoring these differences can cause food to cook at uneven rates.
A simple way to identify these spots is by performing a toast test.
Place slices of bread across the grate, cook for a minute, and check which pieces brown faster.
This reveals where the hot and cold zones are located.
Once identified, these zones can be used strategically.
Thicker cuts of meat benefit from placement in hotter areas, while vegetables or delicate foods do better in cooler zones.
Adjusting food placement instead of constantly adjusting grill settings leads to more consistent results.
Adjusting and Maintaining Grill Temperature
Grill temperature depends on how well airflow, fuel, and heat retention are controlled.
Small changes to vents, burners, or lids can shift cooking conditions from low-and-slow to high-heat searing.
Managing Vents and Burners
On a charcoal grill, airflow directly affects the burn rate of the coals.
The bottom vent lets oxygen in, while the top vent releases heat and smoke.
Opening both increases heat, while partially closing them lowers the temperature.
Gas grills use burners instead of vents, but the principle is similar.
Turning knobs to lower the flame reduces heat, while setting them higher intensifies it.
Adjusting only one side of the grill can also create a two-zone setup for both direct and indirect cooking.
For consistency, cooks should avoid frequent adjustments.
Instead, they should make small, deliberate changes and give the grill a few minutes to stabilize.
A thermometer placed at grate level provides the most accurate feedback.
Key tip: Keep vents and burners about halfway open when starting, then fine-tune based on the target temperature range.
Using Grill Lids Effectively
The lid acts as a heat regulator by trapping or releasing heat.
Keeping it closed builds convection, which surrounds food with even heat.
This is essential for cooking larger cuts like chicken or roasts, where steady heat prevents undercooking.
Leaving the lid open allows heat to escape, which is better for quick foods like burgers or thin steaks.
However, leaving it open too often can cause temperature drops and uneven results.
Wind and outdoor conditions also affect lid use.
In breezy weather, keeping the lid closed helps maintain stability.
On calm days, short lid openings for flipping or basting have less impact.
Practical approach: Use the lid closed for indirect cooking and longer times, and open it briefly only when checking or turning food..
Tools and Accessories for Accurate Temperature Control

Measuring grill heat directly at the cooking surface helps prevent undercooked or overcooked food.
Reliable tools designed for this purpose give cooks consistent results and reduce the guesswork often involved in grilling.
Infrared Thermometers
 Infrared thermometers allow cooks to measure surface temperature without touching the grill.
By aiming the device at the grates, it provides a quick digital reading in seconds.
This method works well for checking if the grill is hot enough for searing or if heat is evenly distributed across different zones.
These thermometers are especially useful when grilling foods that require precise searing temperatures, such as steaks.
Unlike built-in lid gauges, which measure air temperature, infrared devices read the actual surface heat where food makes contact.
Key benefits include:
- Speed: Instant readings without waiting.
- Accuracy: Measures surface temperature directly.
- Safety: No need to place hands near open flames.
They do require proper use.
Holding the device too far away or at an angle can reduce accuracy.
Regular cleaning of the lens also ensures consistent readings.
Grill Surface Thermometers
Grill surface thermometers sit directly on the cooking grate, showing the exact heat level where food rests.
These tools often feature a simple dial display that remains visible through the grill lid.
Unlike infrared models, they provide continuous readings during cooking.
They are helpful for monitoring both direct and indirect heat zones.
For example, placing one thermometer over the coals and another on the cooler side of a charcoal grill helps track temperature differences.
Advantages include:
- Constant monitoring without repeated checks.
- Durability with stainless steel designs.
- Ease of use since they require no batteries.
However, they can take longer to stabilize after placement.
Positioning them correctly on the grate is important, as small shifts in placement may cause slight variations in readings.
Troubleshooting Inconsistent Grill Heat
Inconsistent grill heat often points to issues with fuel supply, burner function, or airflow.
When the grill does not maintain steady temperatures, food can cook unevenly and take longer than expected.
A common cause is a low or partially closed propane tank valve.
Even when the tank has fuel, restricted flow can prevent the burners from reaching high heat.
Checking the regulator and resetting it can also restore proper gas pressure.
Blocked burners or dirty venturi tubes can limit gas flow.
Grease, debris, or insects often collect in these areas.
Regular cleaning with a brush or pin helps keep the flame steady.
Uneven heating across the cooking surface may come from clogged burner ports or misaligned heat shields.
Repositioning or cleaning these parts usually improves balance.
Environmental factors like wind or cold weather can reduce performance.
Placing the grill in a sheltered area and preheating longer in cooler conditions helps maintain temperature.
| Issue | Possible Fix |
|---|---|
| Low flame / weak heat | Check propane level, reset regulator |
| Uneven heating | Clean burners, adjust heat shields |
| Flame sputtering | Inspect for leaks or blockages |
| Slow preheating | Ensure lid is closed, check fuel flow |
Regular maintenance and quick checks before each use reduce most heating problems.
Keeping burners clear, monitoring fuel, and verifying steady flame patterns help the grill perform consistently.
Final Thoughts on Achieving Perfect Barbecues
Grilling success depends on consistent heat, clean equipment, and proper timing.
When the grill reaches the right temperature, food cooks evenly and develops better flavor.
A few simple checks help confirm heat levels:
- Hand test: Holding a hand above the grate for 2–5 seconds gives a rough idea of heat intensity.
- Thermometer: A grill thermometer provides accurate readings for reliable cooking.
- Sizzle test: Placing a small piece of food on the grate should produce an immediate sizzle.
Different foods require different temperature ranges.
| Food Type | Ideal Heat Level | Approx. Temperature |
|---|---|---|
| Steaks, Burgers | High | 450–500°F (232–260°C) |
| Chicken, Pork | Medium | 350–400°F (177–204°C) |
| Vegetables | Medium-Low | 300–350°F (149–177°C) |
Preheating the grill for 10–15 minutes remains one of the most effective steps.
It ensures the grates are hot enough to sear and reduces sticking.
They should also maintain clean grates and adjust vents or burners for steady airflow and heat control.
Small adjustments often make the difference between uneven cooking and consistent results.
With practice, these methods become routine, and checking grill heat feels natural.
This steady approach helps ensure food cooks properly and makes barbecues more enjoyable.