
Cast iron is a fantastic material for cooking.
It retains and distributes heat well, and is suitable for everything from a low grill right up to searing hot.
Cast iron will last for a lifetime when properly cared for, making a cast iron grill pan an excellent investment.
The only caveat when choosing this type of pan is the maintenance that will be involved.
Unlike a modern nonstick pan, you’ll need to season cast iron before the first use, and any time that you clean it.
Take the time to learn about cleaning and seasoning, and get the most out of a pan whether you use it indoors, outdoors, or even at a campsite.
What are the Advantages of Cooking with Cast Iron?
Cast iron was once common in kitchens around the world.
Today, it has fallen to the wayside with materials like aluminum, stainless steel, and high-carbon steel becoming more popular.
However, there’s a resurgence now occurring, and many cooking enthusiasts insist on cast iron grill pans.
When looking at the benefits, it’s not hard to see why.
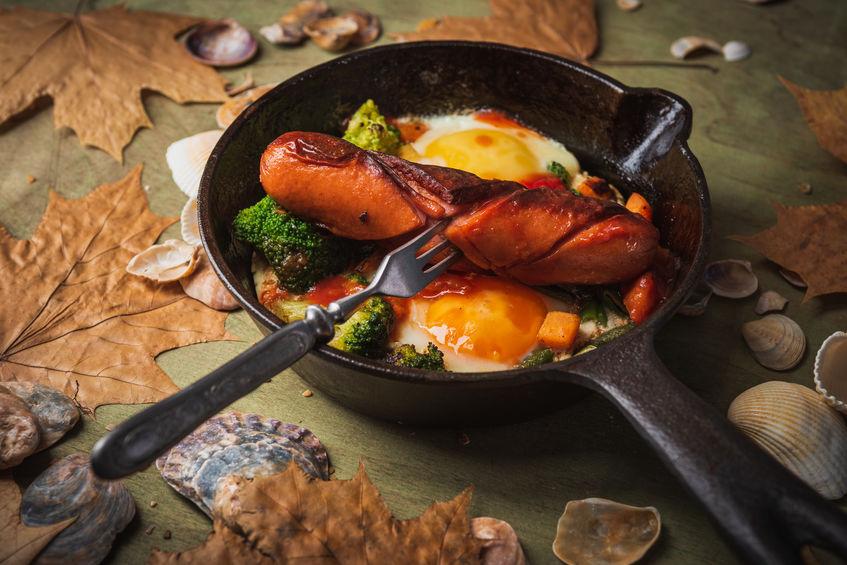
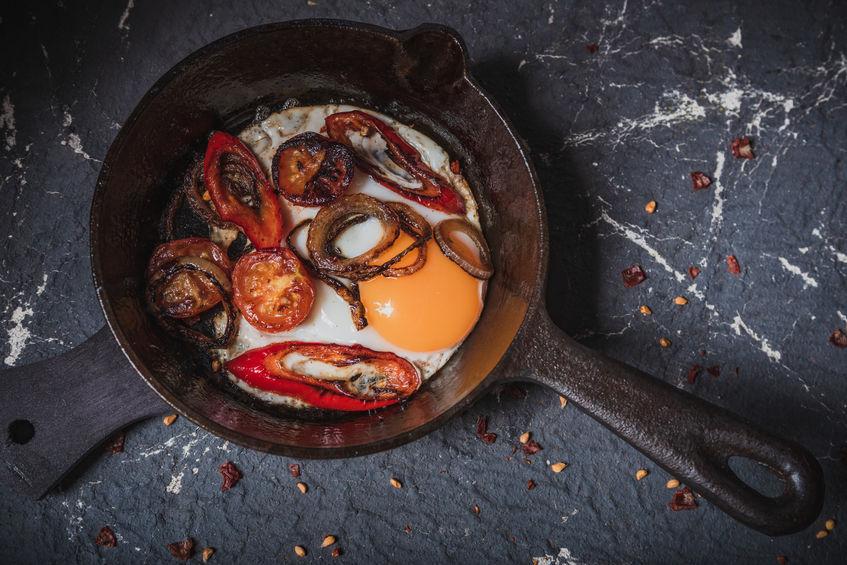
Cast iron is naturally nonstick. When the metal is seasoned regularly, it will offer a slick cooking surface that is perfect for meat, vegetables, and even difficult ingredients like eggs, tofu, and sticky sauces.
A nonstick surface makes cooking a breeze, and it also means you’ll use less oil, reducing the calories in your favorite recipes.
Cookware made from cast iron is also relatively inexpensive when considering how long it lasts.
You can maintain a cast iron grill pan throughout your lifetime, and even hand it down through the generations.
You can’t say this about other cookware, especially when considering modern nonstick surfaces that are applied over aluminum or stainless steel.
Cast iron is technically superior to most other materials because it provides better heat distribution and heat retention.
A cast-iron pan will disperse heat evenly so that all of your food is cooked thoroughly and consistently.
Its heat retention capabilities are ideal for cooking at low temperatures or cooking with residual heat after turning off the gas.
One little-known benefit of cast iron is its ability to leach small amounts of dietary iron into your food.
This can help to reduce iron deficiencies in some people, especially when cooking foods with high acidity.
Studies have shown that cooking in cast iron pots and pans correlates with lower rates of iron deficiency when compared to people who use aluminum or steel cookware.
With so many advantages, even beyond cooking, it’s no surprise that cast iron is making a comeback.
The only real downside to the material is its need for special cleaning and seasoning methods.
However, with our tips, you’ll find that it only takes a little time to keep a cast iron grill pan in great condition.
Cleaning Steps for a Cast Iron Pan
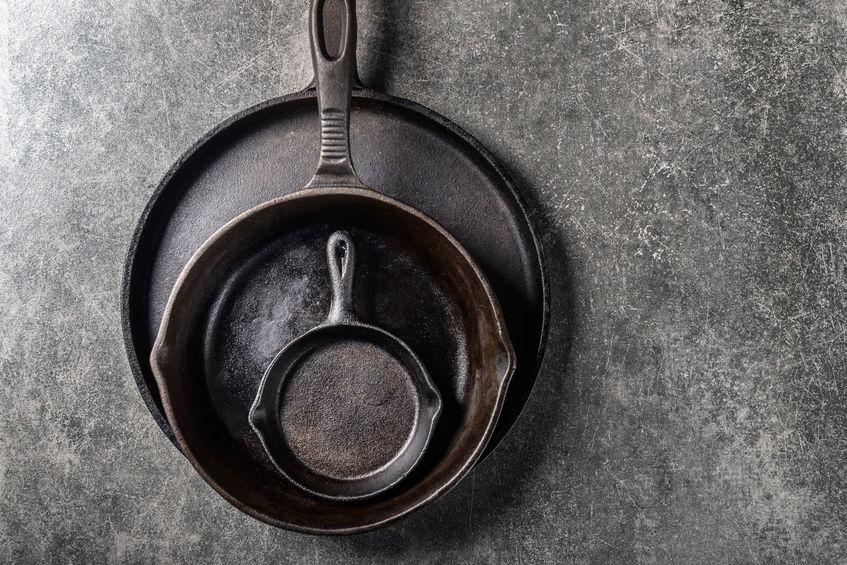
Cast iron doesn’t have the same additives as steel, so rust and debris buildup can become a problem over time.
While a dirty pan might look like it’s beyond repair, it’s relatively simple to restore.
Even if your pan is rusted, you can get it clean, hygienic, and ready to cook.
Before you begin, you’ll need to make sure that you have all of the necessary equipment:
- A stiff nylon or steel wool brush.
- A kitchen towel or paper towels.
- Kosher Salt.
- Vegetable oil.
Step 1: Cleaning a Cast Iron Grill Pan Under Hot Water
The first step is to rinse the griddle under hot water.
You can do this in your kitchen sink. Hot water will loosen debris and make the next steps much easier.
After running under the water for a few minutes, use your nylon brush or steel wool to scrub the pan, removing as much rust and debris as possible.
Step 2: Heating the Pan
When you’ve removed as much debris and gunk as possible, it’s time to heat the pan.
Fill the pan with as much water as is needed to cover any hard-set debris.
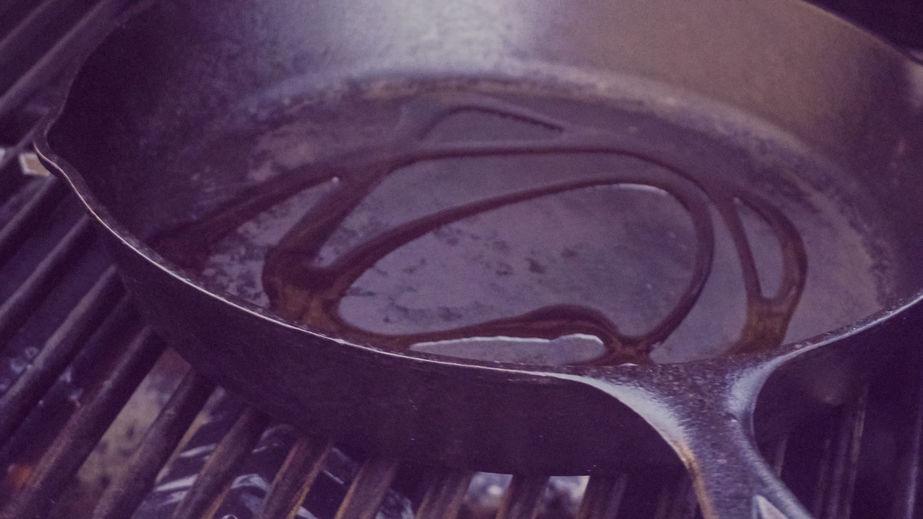
Put the pan over a stovetop in your kitchen or at your outdoor grilling station.
Heat and boil the water for at least five minutes to loosen any of the remaining debris.
Step 3: Scrubbing with Salt
While you can use dish soap to scrub a pan, kosher salt will work better for large and flat surfaces.
Create a cleaning solution using kosher salt (also called rock salt and cooking salt) and vegetable oil.
Make sure it’s not too runny and that there’s plenty of salt in the mix.
This will work as an abrasive to help remove the last pieces of debris.
Pour the boiled water out of the pan and then spread the cleaning solution after the pan has cooled slightly.
Make sure it completely covers the surface, including the corners and sides, and all of the parts between the ridges along the bottom.
Take your nylon brush or steel wool and scrub the entire pan.
This will remove all of the remaining residues. Scrub harder and longer on any stubborn sections.
Step 4: Dry the Cast Iron Pan
Use warm water to remove all of the loosened debris, salt, and excess oil.
If there is still debris, repeat the process with more salt and oil until the surface is clean.
When you’re happy with the pan and everything is rinsed off, you can start to dry it.
Use paper towels to thoroughly dry all of the surfaces. You can also use a clean kitchen towel if you don’t have paper towels available.
At this point, your cast iron grill pan will be clean, but you’re not quite finished yet.
Seasoning is the final step that will protect the pan from rust while creating a naturally nonstick surface.
Seasoning Your Cast Iron Grill Pan
Seasoning is the key step in preserving a cast iron grill pan for a lifetime.
You can complete this process in your kitchen using your oven, or in your grill with the hood down.
Before you start, make sure that you have:
- Vegetable oil.
- A clean dishcloth or paper towels.
Step 1: Preheating Your Oven or Grill and Prepare the Pan
Turn on your oven and grill and preheat it to 350 degrees F.
While it’s heating up, use your paper towels or a clean dishcloth to coat the grill with vegetable oil on all surfaces.
The pan shouldn’t be dripping with oil, but there should be enough that every surface has a slight sheen and feels greasy to the touch.
Step 2: Bake the Grill Pan
Put the cast iron pan in the oven facing down. This will stop oil from accumulating inside.
If you’re doing this outdoors, put the grill face down on the grilling surface, away from the direct heat of the burner.
It can take up to an hour to bake and season a pan in an oven or grill, although depending on its size and the heat of the grill, the process could take as little as 45 minutes.
Continually check the pan for any smoke.
If the oil starts to smoke, it’s time to roll off the heat and let the pan cool.
Burning it too long will remove the oil and you’ll have to start again.
Note that the cast iron handle and the pan will become extremely hot during this process.
Use an oven mitt when removing the pan, even if you’ve allowed plenty of time to cool.
Your pan is now ready to be used for cooking.
Clean and season the pan every three months if you’re using it regularly, or any time that debris starts to build up.
Caring for Your Cast Iron Pan is Easy When You Know What to Do
With these steps, you can enjoy using your cast iron grill pan for a lifetime.
Whether you’re frying eggs and vegetables, steak, or any of your other favorite ingredients, a cast iron pan will perform better than any modern nonstick option.